

Top bar and menus
The top bar is the strip at the top of the editor. It carries chrome that’s always available regardless of which pack or asset you’re working on.
Reading left to right:
- Hexcalibur logo - clicks return you to the pack browser
- File menu - content-creation actions
- Edit menu - undo/redo, clipboard, selection ops, layer transforms, and Preferences
- Layer menu - operations on the active layer
- Tile menu - the tile workflow’s entry points (in packs with a tile workflow)
- Animate menu - timeline visibility, playback, frames, tags, onion skin
- View menu - layout customization (panel show/hide, Reset layout)
- Help menu - tours, keyboard shortcuts, changelog, documentation
- Tier indicator - your current plan
- Account avatar - sign-out, account, billing
File menu
Section titled “File menu”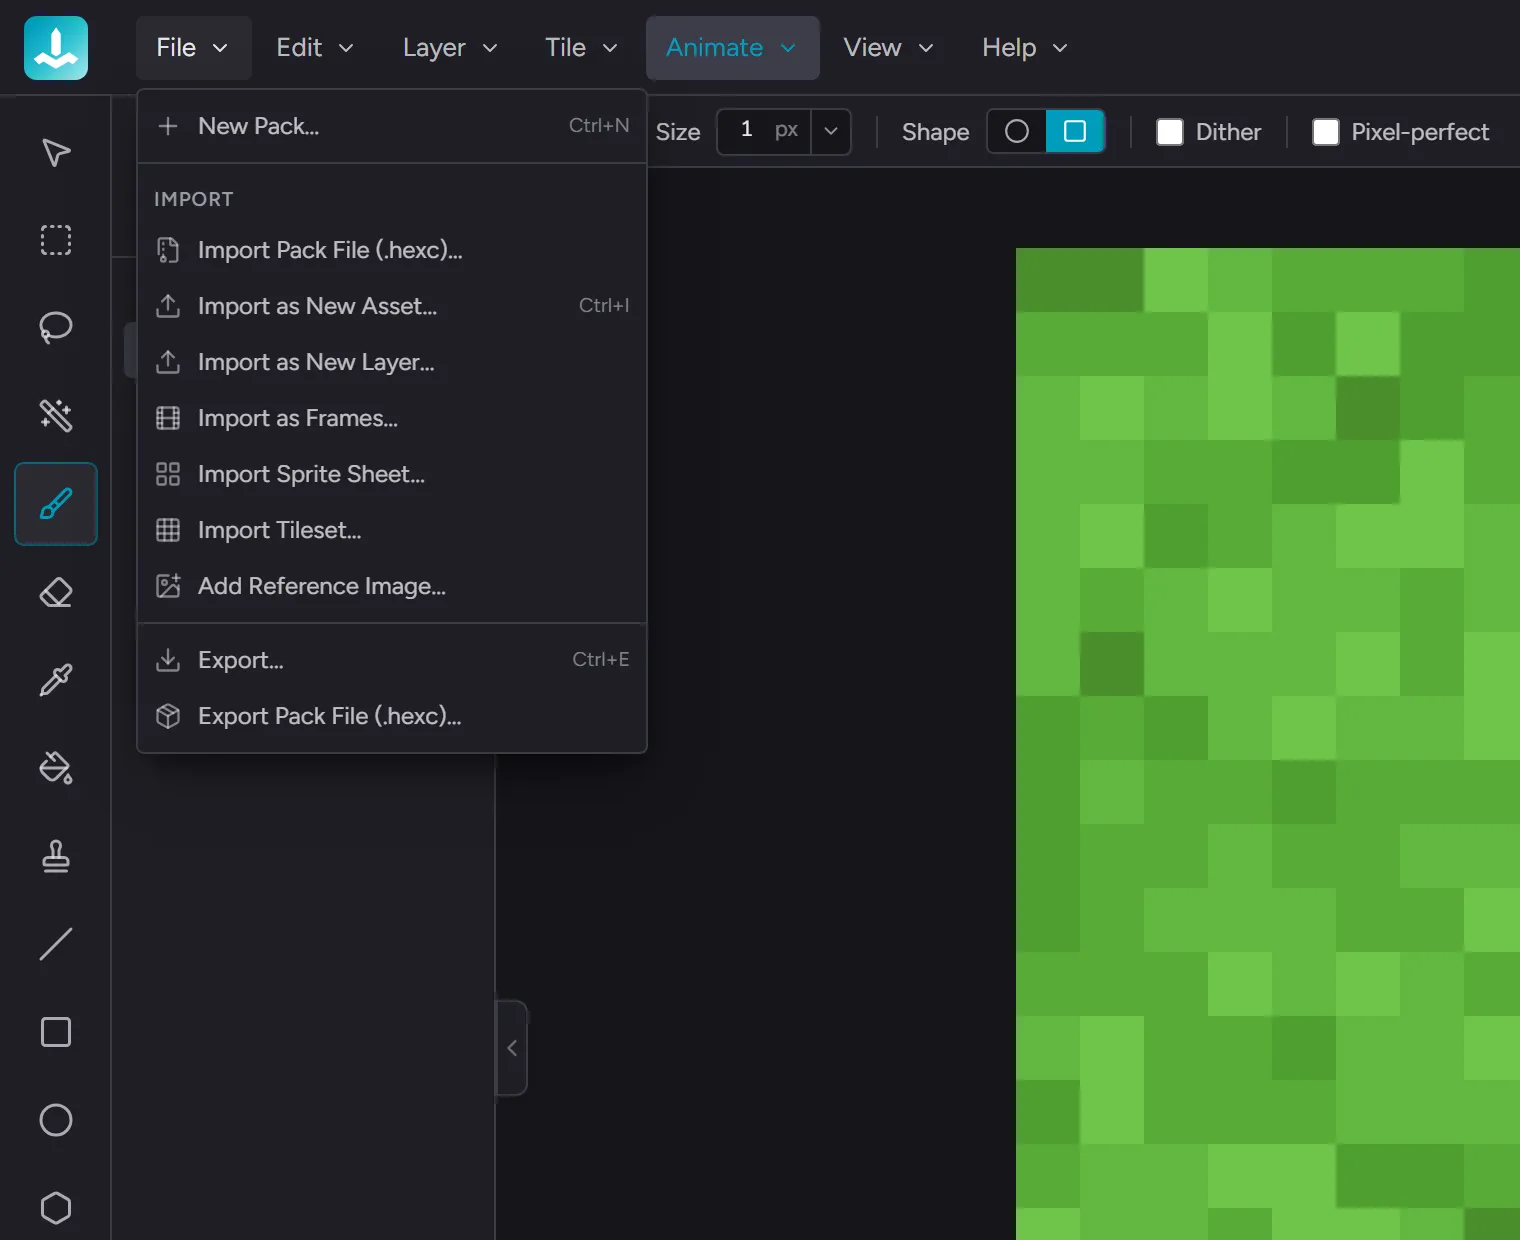
Click File for:
- New Pack… - opens the New Pack modal (
Ctrl/Cmd + N)
Import
- Import Pack File (.hexc)… - bring a pack file back as a new pack
- Import as New Asset… - pick an image file (
Ctrl/Cmd + I), drop it into a fresh asset in the active pack - Import as New Layer… - pick an image file, drop it as a new layer on the active asset
- Import as Frames… - pick one or more images, drop them as animation frames on the active asset
- Import Sprite Sheet… - slice a sheet into animation frames
- Import Tileset… - slice a tileset image into ready-to-stamp tiles (see Import a tileset); shown in packs with a tile workflow
- Add Reference Image… - attach an image to the active asset as a tracing reference (shown in the floating reference window)
Export
- Export… - open the Export dialog (
Ctrl/Cmd + E) - Export Pack File (.hexc)… - save the whole pack as a lossless pack file
The shortcuts work whether the menu is open or closed.
Edit menu
Section titled “Edit menu”Click Edit for click-discoverable mirrors of the keyboard shortcuts. Items are gated on context - Undo/Redo grey out when there’s nothing to undo, Cut/Copy grey out without a selection, Paste greys out without a clipboard, etc.
History
- Undo (
Ctrl/Cmd + Z) - Redo (
Ctrl/Cmd + Shift + Z)
Clipboard
- Cut (
Ctrl/Cmd + X) - Copy (
Ctrl/Cmd + C) - Paste (
Ctrl/Cmd + V) - paste as a float on the active layer - Paste special →
- Paste as new layer - creates a fresh layer + drops the clipboard onto it, finalized (no float to commit)
- Paste as new asset - creates a new asset in the active pack sized to match the clipboard, with the pixels on its first layer; the new asset becomes active
Selection
- Delete selection contents (
Delete) - clear pixels under the marquee, mask survives - Select all (
Ctrl/Cmd + A) - Deselect (
Ctrl/Cmd + D) - Invert selection (
Ctrl/Cmd + Shift + I)
Transform
- Flip horizontal - mirror the active layer across the vertical axis
- Flip vertical - mirror across the horizontal axis
- Rotate → 90° CW, 90° CCW, 180°. The 90° entries grey out on non-square canvases (rotating 90° would swap width and height, which the action can’t do in place). 180° and the flip ops stay enabled on any shape.
- Transform - selects the whole canvas + arms the 8 transform handles so the next handle drag scales the canvas contents
All transform ops operate on the whole active layer (not just the selected region). Locked layers reject the ops.
Canvas
- Resize Canvas… - opens the same modal the size badge in the footer does. Change width / height (anywhere from 8 to 512 px per axis), pick an anchor point on a 9-cell grid to decide where existing pixels sit inside the new canvas, and submit. Areas outside the new bounds crop; areas inside not covered by old pixels stay transparent. The action is undoable.
Preferences
- Preferences… (
Ctrl/Cmd + P) - opens the Preferences modal, where you set editor-wide defaults (gridlines, per-tool defaults, 3D preview). Sits at the bottom of the Edit menu.
Tile menu
Section titled “Tile menu”The Tile menu is the home of the tile workflow. It appears in tilemap, sprite, UI-kit, icon, and mixed packs (block-texture packs have no tile workflow, so they show no Tile menu):
- New Tilemap… - create a tilemap, a map asset whose cells stay linked to the tiles they show
- Import Tileset… - slice a tileset image into ready-to-stamp tiles (see Import a tileset)
- Draw a Blank Tileset… - mint a blank grid to draw your own tiles into, the hand-drawn counterpart to importing a sheet (free; see Create a tileset)
- Generate Terrain… (Pro) - compose a complete autotiling terrain from two drawn tiles (see Generate terrain)
- Draw a Terrain… (Pro) - hand-draw every piece of an autotiling terrain for full control (see Draw a terrain)
- Make Seamless… (Pro) - convert the open texture into a seamlessly tiling version (see Make seamless)
In block-texture packs, Make Seamless… lives at the bottom of the Edit menu instead - tiling matters for block textures too.
View menu
Section titled “View menu”The View menu controls how the workspace is laid out. Use it to show/hide individual panels and to reset everything back to defaults.
Reset layout sits at the top of the menu. One click restores every layout-related preference - section visibility, section heights, timeline visibility + height, 3D preview docking + position, reference window position - back to factory defaults. Other preferences (grid color, palette, tour progress, account state) are left alone.
Below the divider, the menu groups toggle-checkboxes by where the panel lives:
Right panel group:
- Color - show/hide the Color section
- Palette - show/hide the Palette section
- Layers - show/hide the Layers section
- Reference Image - show/hide the floating reference window
- 3D Preview - show/hide the floating preview window
Bottom dock group - the panels that slot between the canvas and the footer:
- Tile Shelf - show/hide the tile library (shown in packs with a tile workflow)
- Animation Timeline - show/hide the bottom timeline panel (multi-frame assets always show the timeline regardless of this flag so you can reach your frames)
The brand-teal check next to each label flips on/off as you click. Hidden sections are removed from the docked column entirely so the sections below shift up cleanly. Re-enabling restores the section at its last height + position.
Canvas guides group:
- Pixel Grid - show or hide the pixel-grid overlay (same as the
'shortcut). Set its color and default visibility in Edit → Preferences → Canvas. - Tile Numbers - label each grid cell (and each tile in the Tile Shelf) with its tile’s number. See Tile Shelf and tile stamp.
- Isometric Guidelines - overlay a 2:1-slope diagonal grid on the canvas, the de-facto pixel-art “isometric” reference. Spacing scales with the canvas size. Toggle persists per-user across sessions; off by default. Set the guideline color in Edit → Preferences → Canvas.
Tiled Mode group - the live-repeat view for seamless-texture
work (one mode active at a time): Off, Repeat X,
Repeat Y, and Repeat Both (Shift + ' toggles Off ↔
Both). See Tiled mode.
Display group:
- Fullscreen (
Shift + F) - fill the display with the whole editor, like the browser’s native fullscreen.Escexits.
See Customizing the Studio panel for the resize + pop-out gestures that complement these toggles.
Help menu
Section titled “Help menu”Click Help for:
- Show Welcome Tour - re-launch the guided walkthrough of the editor’s panels and tools
- Show Animation Tour - launch the dedicated animation
walkthrough (frames, transport, tags, layer-cel grid, onion
skin). Also reachable from the
?button in the animation timeline - Show Tiles Tour - launch the tile-workflow walkthrough
(Tile menu, tilemaps, the Tile Shelf, stamping, Replace vs
Stack). Also reachable from the
?button in the Tile Shelf’s header; shown in packs with a tile workflow - Keyboard Shortcuts - open the full shortcuts reference in a modal
- Documentation - opens this docs site in a new tab
- Changelog - opens the release notes in a new tab
Preferences
Section titled “Preferences”Open Edit → Preferences… (or press Ctrl/Cmd + P) for editor-wide
settings. A left sidebar groups them into pages. Changes apply instantly
and are saved as your defaults - there’s no save button.
Canvas
- Gridlines - choose whether the pixel grid is shown by default
(you can still toggle it live with
') and pick the gridline color, including its transparency. - Isometric guidelines - show the 2:1-slope guides by default and pick their color and transparency.
The color pickers include a transparency bar - drag it down to make the grid or guides more subtle, or up to make them bolder.
Tools
Expand Tools for a page per tool (Brush, Eraser, Line, Rectangle, Circle, Polygon, Star, Fill, Magic wand). Each page sets that tool’s starting defaults - things like brush size, brush shape, dither, fill mode, polygon sides, star points, and magic-wand tolerance. Changing a default applies to the tool right away and is remembered for next time. Nudging a value in the tool options bar while you work is temporary - it resets to your default when you reload.
3D Preview
Defaults for the preview cube: scene lighting, face labels (a T/B/N/S/E/W letter on each face), the backdrop color behind the cube, auto-rotate and rotation speed, floating vs docked layout, whether the preview starts hidden, and a button to reset the preview window’s position and size.
Resetting
- Each page has its own Reset button (next to the page title) that restores just that page - or just that one tool - to defaults.
- Reset all settings in the footer restores every preference at once.
Most preferences persist in your browser.
Tier indicator
Section titled “Tier indicator”A small pill showing your current plan (Free, Pro Monthly, Pro Annual, or Lifetime). Clicking it opens the upgrade modal for free users, or the account billing page for Pro users.
Account avatar
Section titled “Account avatar”The circle on the right shows your account initials. Clicking opens a dropdown with:
- Your email address
- A link to the account page (sign out, billing, profile)
- Sign out
Pack switcher
Section titled “Pack switcher”The pack switcher lives in the Asset switcher’s header (the column to the right of the tool rail), not in the top bar. It shows the current pack’s name and lets you jump between packs without returning to the pack browser.