

Quickstart
This is the shortest possible path through Hexcalibur - from a cold browser tab to your first finished texture. About five minutes end-to-end.
1. Sign in
Section titled “1. Sign in”Open hexcalibur.axidus.io and sign in with your Axidus account. New here? Sign up however you like: continue with Google, get a one-time sign-in link by email (no password needed), or use an email and password.
Hexcalibur and the rest of the Axidus product family share one account, so if you’ve used another Axidus product, your sign-in already works.
2. Open the starter pack
Section titled “2. Open the starter pack”The first time you visit, Hexcalibur creates a pack called My First Pack for you and drops a single 16×16 block-texture asset inside. You’ll see it as the only tile in the pack browser, and a welcome dialog appears introducing the pack-browser surface - take the short tour or dismiss it.
Click the tile to open it. The editor loads with an empty grid in the center, the tool rail on the left, and the Studio panel showing Color, Palette, and Layers.
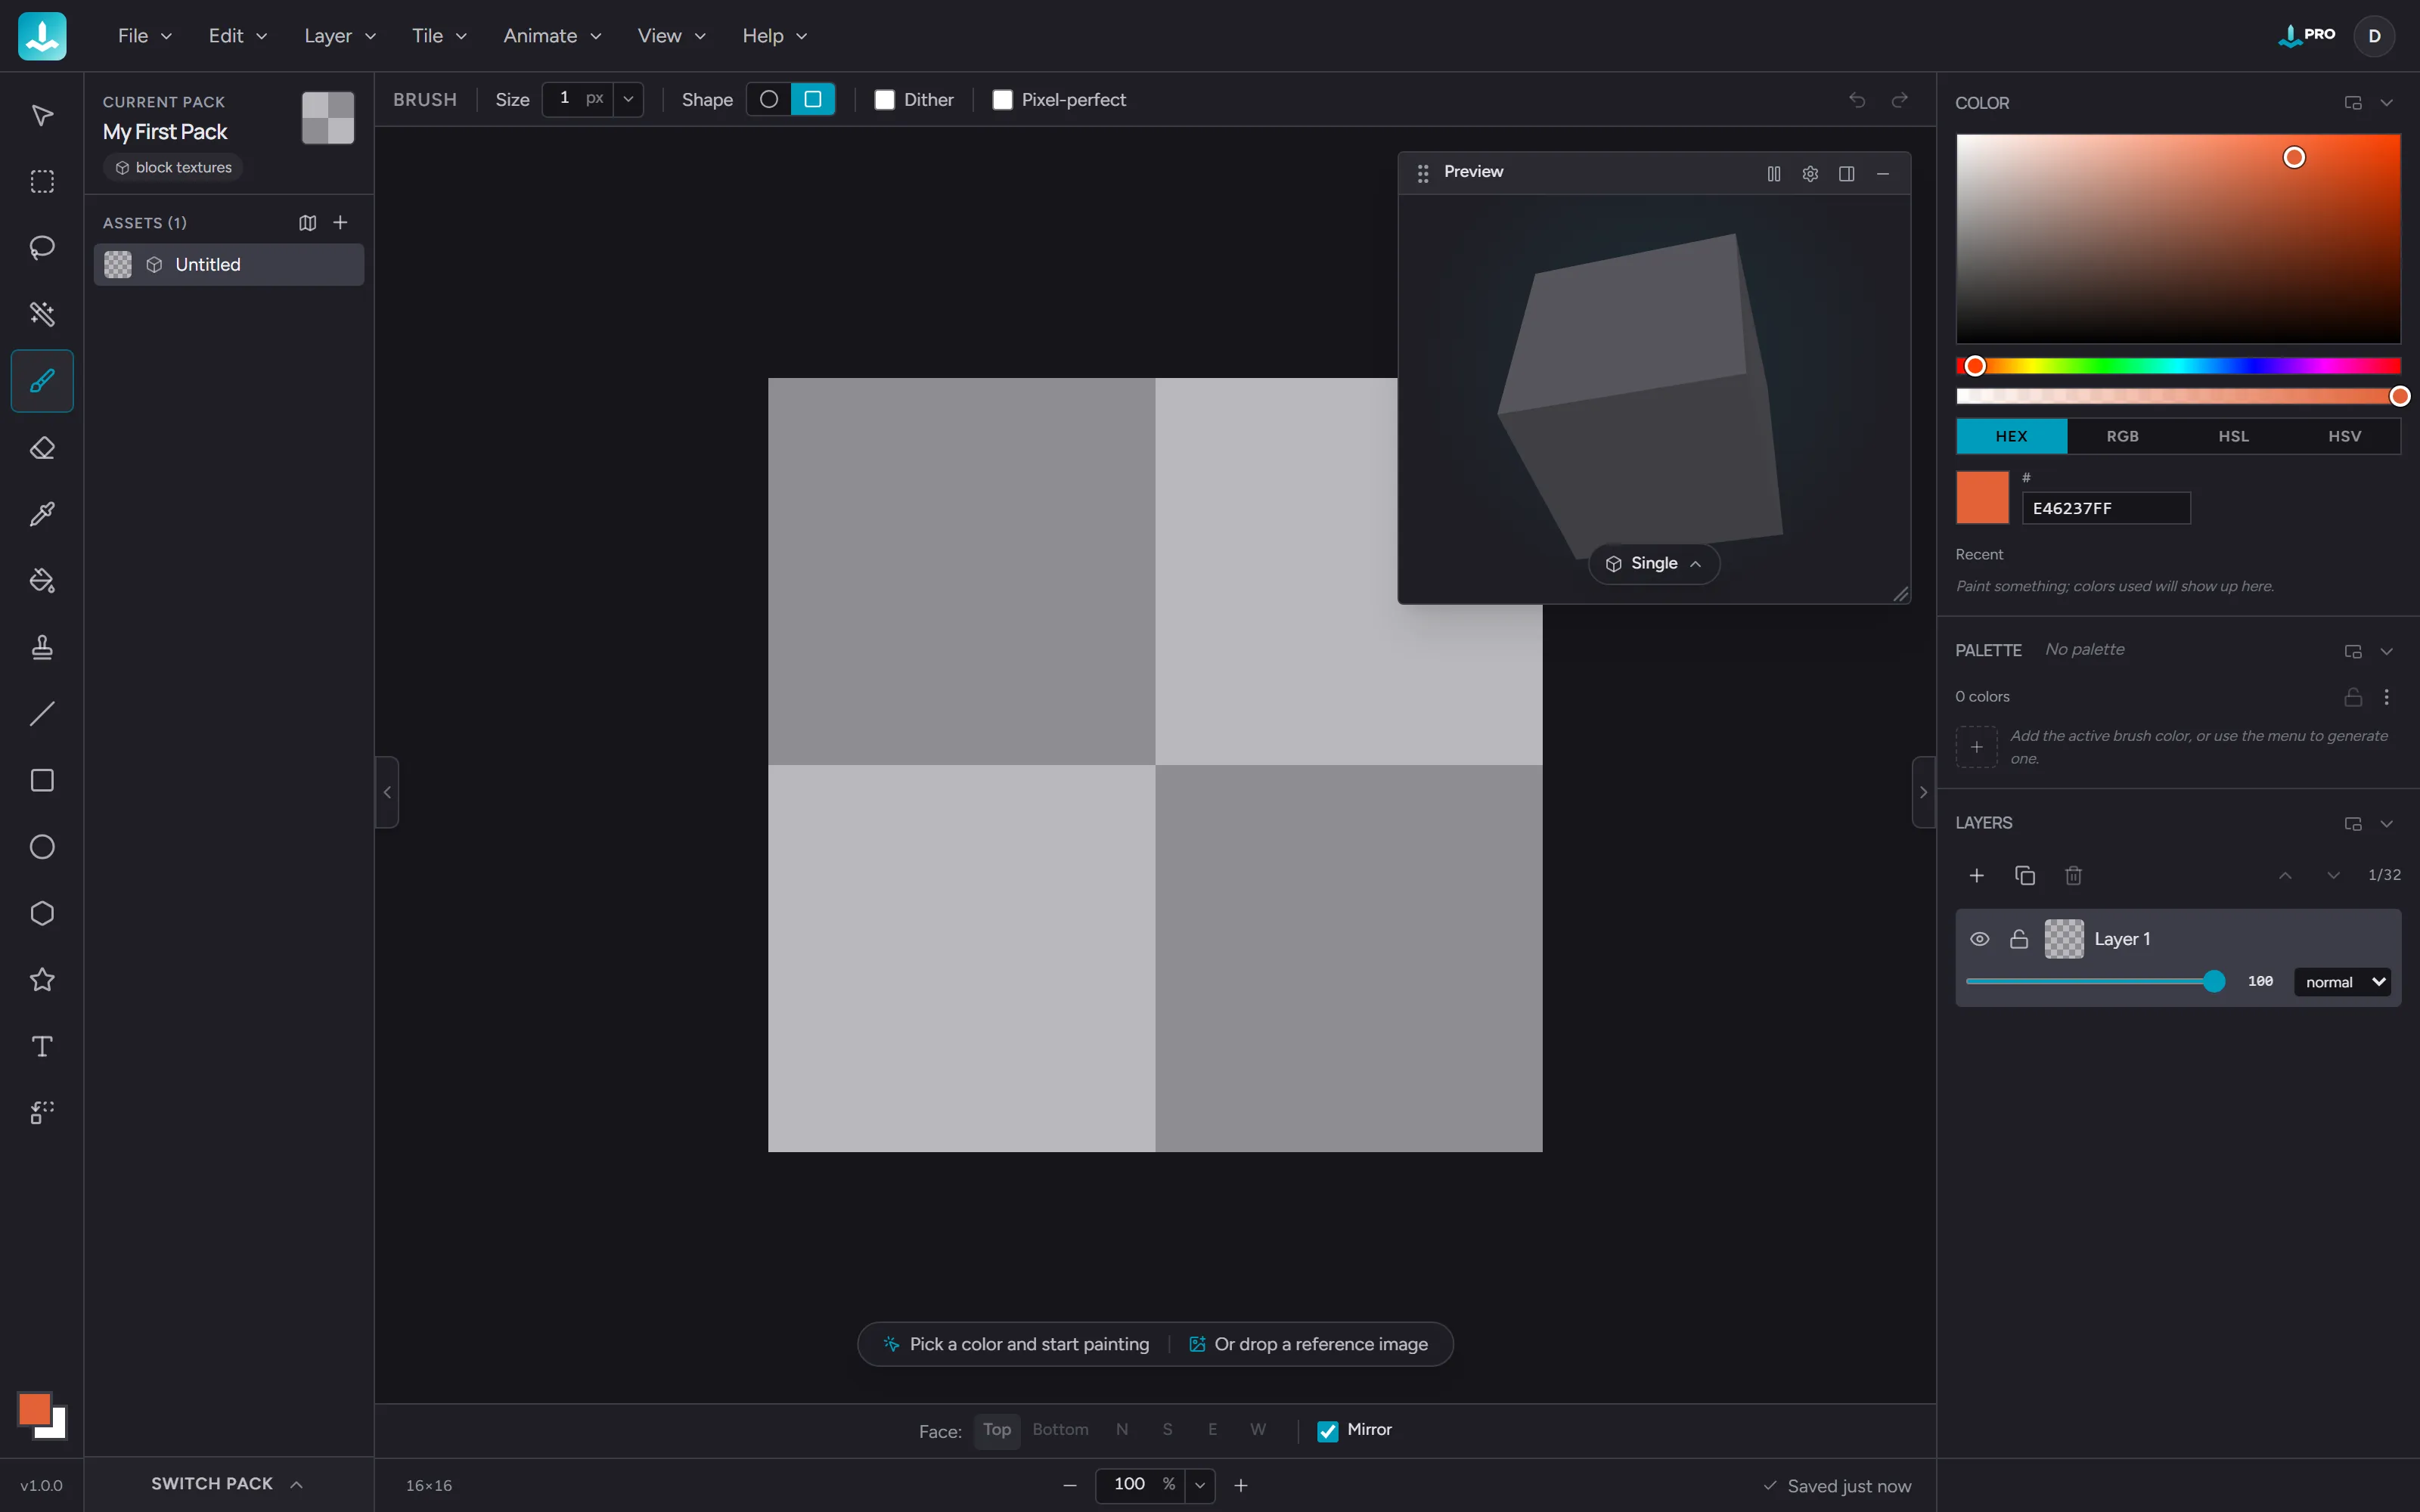
A second welcome dialog appears the first time you reach the editor itself. Take the guided tour if you want a walkthrough of the editor’s panels and tools, or dismiss it and start painting straight away - you can always re-open either tour from Help → Show Welcome Tour.
3. Pick a color and paint
Section titled “3. Pick a color and paint”The Brush tool is selected by default. Click the foreground swatch in the Studio panel’s Color section to pick a hue, then drag across the canvas to paint.
A few worth-knowing controls:
- Press
Bfor Brush,Efor Eraser,Ifor Eyedropper - Right-click to paint with the background color (the rear swatch)
- Hold
Altto bring up the Eyedropper tool while painting - Hold
Spaceand drag to pan the canvas - Scroll to zoom (cursor-anchored)
- Press
'(apostrophe) to toggle the pixel grid overlay Ctrl/Cmd + Zundoes;Ctrl/Cmd + Shift + Zredoes
The 3D preview in the top-right of the canvas region updates live as you paint - it’s the same texture wrapped onto a rotating cube, so you can see how edges tile and how the texture reads at game- view size.
4. Add a layer (optional)
Section titled “4. Add a layer (optional)”In the Studio panel’s Layers section, click the + button to
add a new layer above the one you’re painting on. Layers are how
you keep outlines, shading, and accents separate so you can
adjust each independently.
Hide a layer with the eye icon, lock it with the padlock, or drag to reorder. Right-click the row for the full set of layer actions.
5. Save (it’s automatic)
Section titled “5. Save (it’s automatic)”There’s no Save button. Hexcalibur autosaves every stroke commit to your browser’s local storage, and to the cloud if you have a Pro subscription. The status pill in the bottom-right corner of the editor shows the current save state.
6. Export
Section titled “6. Export”Open File → Export… (or press Ctrl/Cmd + E). The Export
dialog lets you pick:
- Scope: the active asset, or the whole pack (Pro)
- Format: PNG for the active asset, or an engine-specific bundle (Minecraft Java, Bedrock, Tiled, generic atlas, raw per-face PNGs)
- Size: the export size in pixels
Click Export and the file downloads. That’s it - your texture is ready to drop into a game engine.
What’s next
Section titled “What’s next”- Try other tools - the Line, Rectangle, Circle, and Fill tools cover most pixel-art workflows. The Text tool brings six bundled pixel fonts (or your own uploads) directly onto the canvas.
- Build a palette and lock it so every stroke snaps to a small set of colors.
- Read about packs to understand how Hexcalibur organizes related textures.
- See the full list of keyboard shortcuts.
If you hit a snag, every UI surface in the editor has its own reference page under Editor reference in the sidebar.